

Photoshop Composite Image
- Robert Costa
- Feb 17, 2023
- 2 min read

Updated: Feb 24, 2023
This week we practiced making composite images helping prepare us for the making of our magazines and learned more about Photoshop's tools and features.
I had a lot of fun learning how to make composite images and am happy with my results as well as being able to learn a lot more functions on Photoshop and how to use them well. Although it got difficult at some points as photoshop has a lot of tools so it can get confusing it was an overall positive experience and I am excited to work more in Photoshop.

From the making of this composite image, I learned how to use the move tool, quick selection tool, brush tool, gradient tool, and how to mask subjects as well as apply different blending modes.

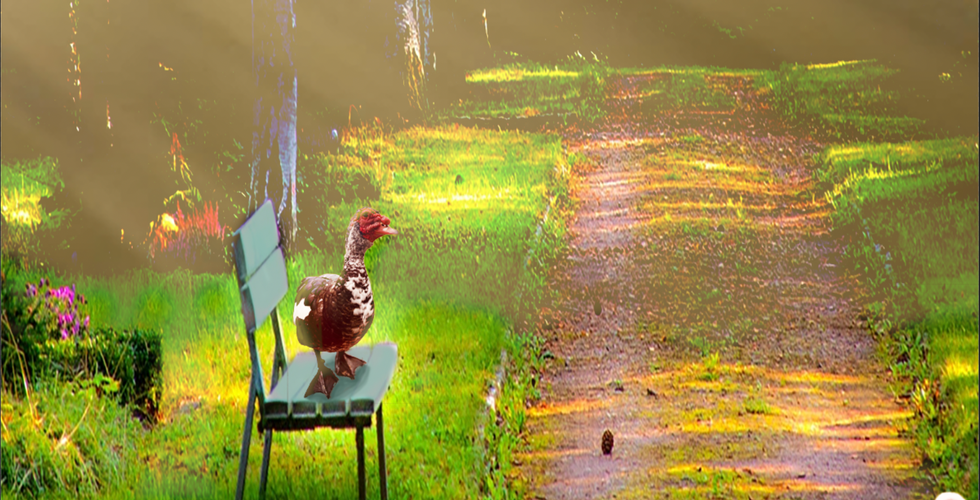


For this image, I used a picture I took of ducks (shown in the slideshow) and cut them out using the quick selection tool to select and mask them. I then added them onto a picture I found on Google (shown in the slideshow), which I cropped and stretched, and used the move tool to put them where I thought they fit best and increased their brightness so they fit in better with the environment; an example is shown below without and with the increased brightness. I also used the brush tool to alter the color of the bench and make it fit in better as before it was too dark and to add a shadow under the duck sitting on top of the bench.


To tie the pictures together I then added a sunlight image layer (shown in the slideshow) and used the lighten blending mode. After doing so I used the brush tool to erase the sunlight effect from the foreground, except on the edges of the ducks to make it seem as if the sunlight was hitting them, so it was more in focus and used the brush tool to add a rim light to the ducks which can both be seen below.


This is a before and after of how the light effects impacted the composite.


Comments